Anni Graham – The Editing Course | Immersed Education
$1,200.00 Original price was: $1,200.00.$129.99Current price is: $129.99.
After finishing this course, you will not only have a new efficiency to your editing process and workflow, you will understand how to evoke emotion from a photo, uncover moments you might have overlooked and transform your galleries into captivating stories.
DETAILS
-
English
-
9 Hours of Content
-
Live Editing Demo’s
-
Lifetime Access
Anni Graham – The Editing Course | Immersed Education

The beauty of digital photography is in the edit.
This LIVE-recorded, 6-class series is an interactive take on our traditional online courses.
As a wedding photographer, editing is so much more than just making a photo look good. We edit large volumes of images taken indoors, outdoors, in the full sun, at sunset, with a flash, with multiple different cameras and often from multiple photographers. At the end of the day, when you go to push that sacred SEND button on your gallery – your heart stops – and for some reason you doubt everything you’ve just created.
Editing is very subjective. It’s your creative take on a moment, an image, a gallery. You get to choose what colors to use, what images to highlight, what moments will live forever in someone’s life. It can be so vulnerable! That’s why it’s so important to know how to manipulate every slider, every lighting scenario, every color to exactly what you want.
This live-recorded series will not only get into the nitty gritty of Lightroom and editing tips & tricks, but also show you how to do it all with consistency and efficiency, because let’s be real – we have 1,000 more photos to edit and we can’t paint perfect skin tones on every single one.
6 Live-Recorded Classes
Chapter 1 | Editing Workflow
When I was getting started as a photographer, I would upload every image from a shoot into Lightroom, then cull as I edited. It took me months to finish a full wedding gallery.
Eventually, I discovered culling before you import your images into Lightroom. It saved me weeks of editing time.
I didn’t think I needed to streamline the process any further until I started working every single weekend and was drowning in my editing list.
The editing workflow I created and use today allows me to upload on Monday and deliver by Friday. This class will go through my entire process– from importing images post-shoot to delivering a full gallery to a client.
An editing workflow saves time.
An editing workflow creates consistency.
TOPICS COVERED-
Culling
-
Importing
-
Cataloging
-
Efficient + cohesive editing tricks
-
Exporting
-
Gallery delivery

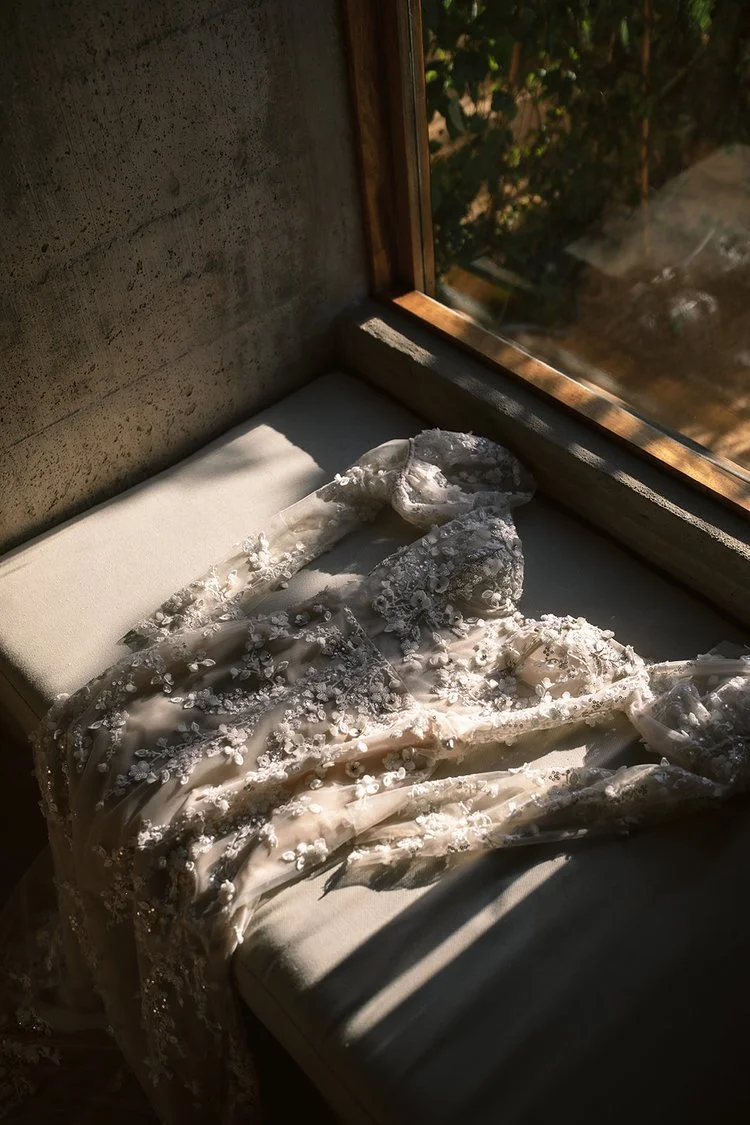
Chapter 2 | Understanding Lightroom
Although I’ve spent time developing presets I love and use consistently, there are still individual adjustments I have to make for each photo. Taking the image into account, I consider things like exposure, temperature, shadows, contrast, tone curve, HSL sliders, split toning, and grain.
This class will go through each section, explaining what each slider does, how I use contrast and HSL sliders, the difference between split toning and temperature adjustments, how to use the histogram, and more.
Understanding how to make adjustments to every part of your image gives you full control with any gallery, any lighting situation, and any preset.
TOPICS COVERED-
Basic adjustments
-
Split toning
-
Tone curve
-
HSL sliders
-
Lens corrections
-
Grain
Chapter 3 | Color Theory
Understanding color theory has had a profound impact on the way I edit my images. I look at photos that I edited even just four years ago and cringe at the editing choices I made because I had little to no awareness of color theory.
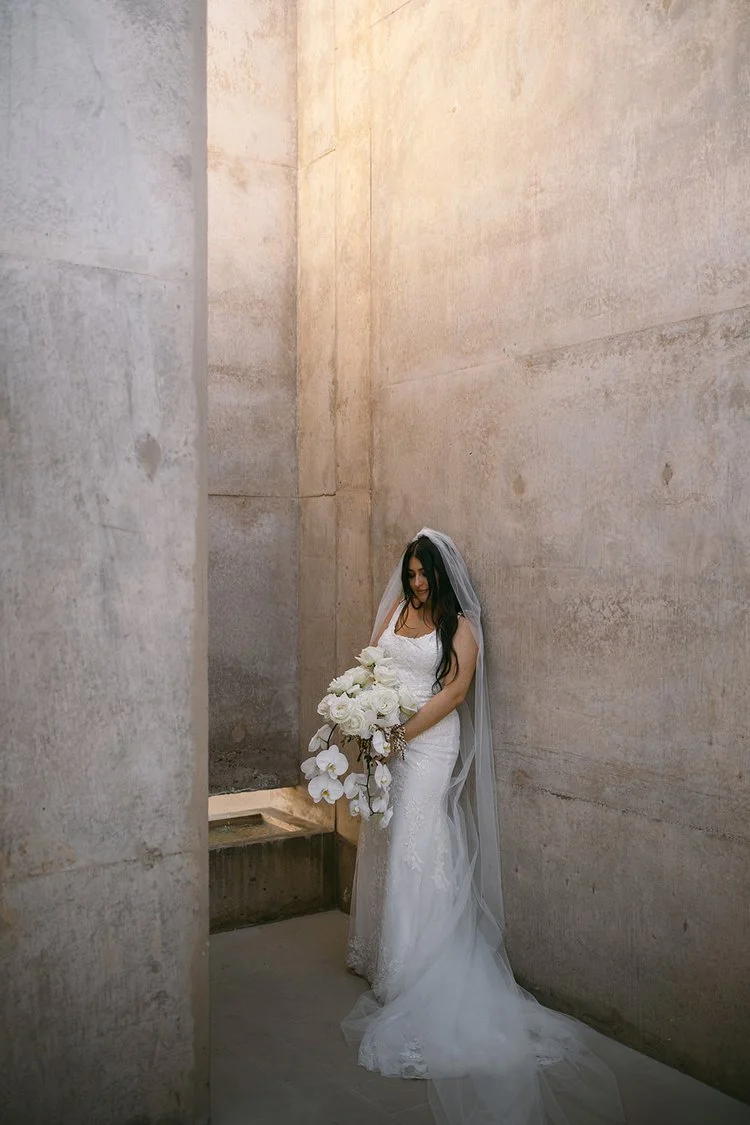
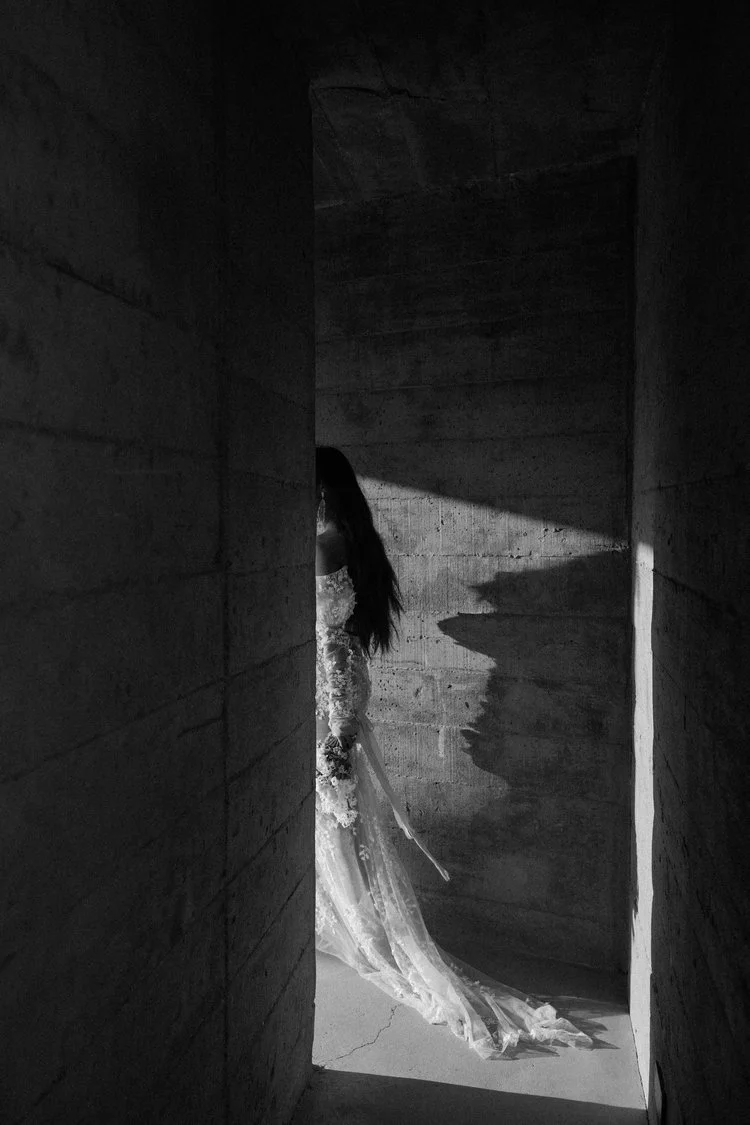
In this class, I will teach you the basis of color theory and how having an awareness of it while you edit your images will transform your work. We will talk about specific colors and what kind of emotion you can evoke from them. We’ll also discuss how using color in this way can attract your ideal clients.
To demonstrate the enormous difference color theory can make, I’ll even dig into photos I edited earlier in my career and show you how I would edit them today.
TOPICS COVERED-
Understanding the color wheel
-
Color and emotions
-
Using color theory when editing
-
Defining your style with color
Chapter 4| Editing for Composition
Most composition work is done in camera, but there is still a significant part of composition that actually happens when editing. Using something as simple as the crop tool can transform ten images of the same moment into a dynamic narrative.
It takes a long time to train your eye to see what is in your frame when you’re taking a photo. The beauty of digital photography is that you can alter the composition of your images in post.
In this class I will show you how I use the crop tool, gradient filters, the healing tool brush, and other features to dramatically improve an image with a few clicks. As wedding photographers we need to edit a large amount of photos at once. Keeping this in mind, the adjustments I will teach you are minimal yet transformative. Through this course you’ll find that editing for composition won’t add too much time into your workflow and can be just as important as adjusting exposure and temperature.
TOPICS COVERED-
Crop + straighten
-
Removing distractions
-
Using gradient filters
-
Using radial filters
-
Using the brush tool
Chapter 5 | Editing Skin Tones
One of the most asked questions I get when teaching editing: How do I edit for skin tones?
So many of you want to know how to properly expose for skin tones, how to use your tools to create creamy skin tones, and how to thoughtfully edit diverse skin tones.
In this class, I will address all these questions and more. I will show you how I use the tone curve, HSL sliders, and split toning to create flattering skin tones in any image.
TOPICS COVERED-
Tone curve
-
HSL sliders
-
Split toning

Chapter 6 | Editing with Consistency
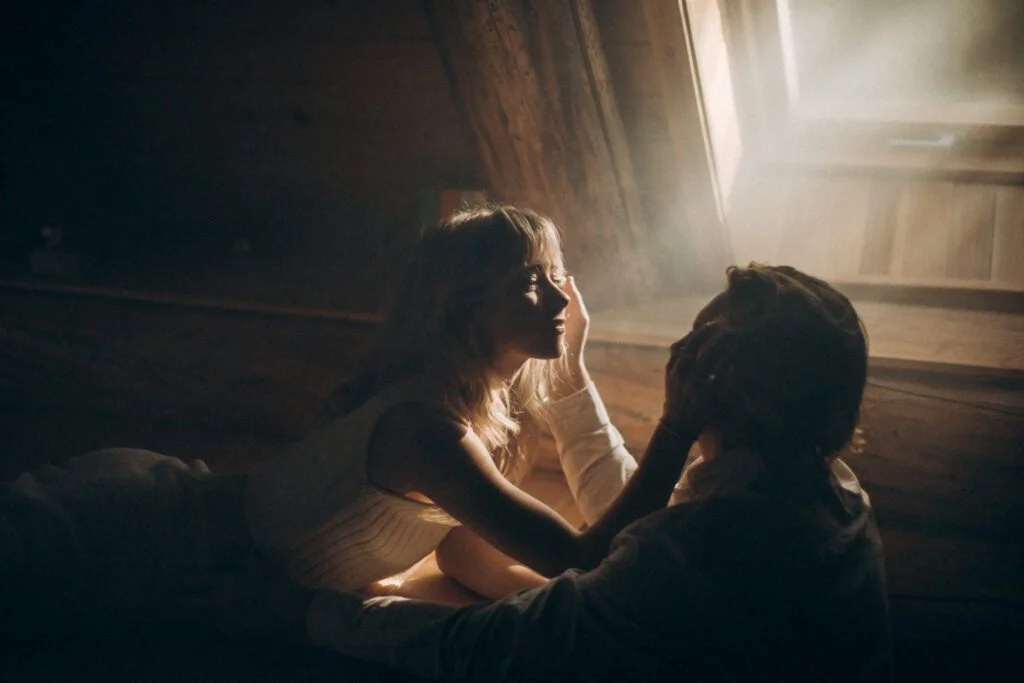
Editing with consistency is probably one of the most important things to master as a wedding photographer. We deal with large quantities of images in different lighting situations and in different backgrounds all within a span of 8 hours – and the gallery needs to look good. Then on your next shoot, everything is different again and you realize your edits are constantly changing.
In this class I will teach you how I edit a wedding consistently from inside to outside to sunset to the reception, using multiple cameras and multiple shooters and how I make all the images look cohesive. Then how to set yourself up for your next shoot as you slowly establish your editing style.
TOPICS COVERED-
Different lighting conditions
-
Different locations and backgrounds
-
Using multiple presets
-
Using different cameras or second shooters
After finishing this course, you will not only have a new efficiency to your editing process and workflow, you will understand how to evoke emotion from a photo, uncover moments you might have overlooked and transform your galleries into captivating stories.
DETAILS
-
English
-
9 Hours of Content
-
Live Editing Demo’s
-
Lifetime Access
about the educator
Anni Graham
Hi, I’m Anni, co-owner of Immersed Education and full-time destination and adventure elopement photographer. Whether it’s a multi-day trek out into the epic, Patagonian wilderness, or a sensorially stimulating, cultural deep-dive into the colorful streets of Southeast Asia, my life’s passion has been to provide timeless photos of unforgettable experiences for couples all around the world.
It’s an unbelievable honor to capture sacred memories that my clients will be able to treasure for the rest of their lives. These courses are an expression and distillation of everything I’ve learned and loved about photography, travel, human connection, and conscientious entrepreneurialism over the course of my career. I got to where I am by completely immersing myself into my craft. I want to help you get there too.
Only logged in customers who have purchased this product may leave a review.




Reviews
There are no reviews yet.